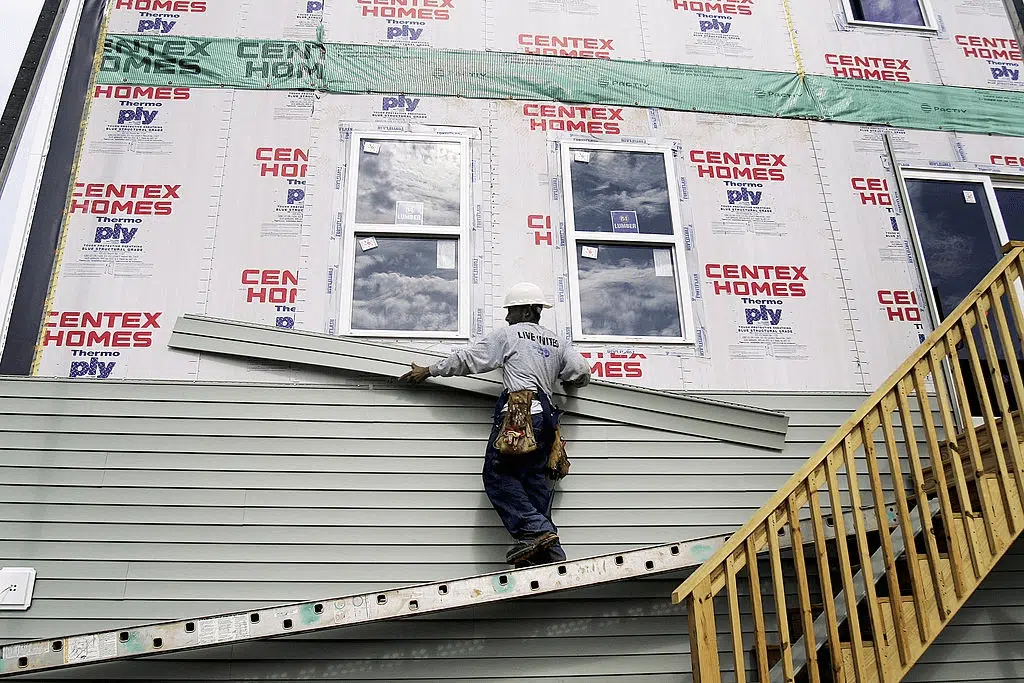
The Clapboard Siding Installation Guide
Clapboard siding is overlapping wood planks used to protect the house from the weather within. Clapboard siding can be hand-split or machine cut from logs of white pine, hemlock, spruce, or even cypress.
Before you begin the installation process, you may need to estimate the amount of clapboard siding stock required for the siding by measuring all the walls’ heights and widths. This gives you the correct square footage of the wall surface area minus the area of windows and doors.

Weatherproof the walls
Lay a house wrap to cover the house’s walls to weatherproof the walls, flash and trim the loose flaps and make sure that the finishing is fine and ready for siding. This is important as it keeps the walls moisture and waterproof before the siding material can be safely laid.
Flash the skirt boards
Begin by cutting the house wrap along the top edge of the skirting board. Be careful not to cut the flashing tape behind the skirtboard. You may need assistance from another person to make the cutting of the house wrap easier.
Continue to cut the house wrap along the ends to flip it up using a cap hammer. While holding the house wrap, install the drip cap.
To install the drip cap safely and securely, fix them piece by piece, with the second one overlapping the previous piece by about three inches. Nail from the end and avoid excessive pressure that would otherwise bend the drip cap. To keep away water or moisture from entering, use house wrap tape on the top edge of the dip cap. After sealing the drip cap, pull down the house wrap and tape both ends. You can also skip-tape the middle section of the house wrap to easily escape any water that gets behind it.
Layout the clapboard
Begin to install by measuring the space from the drip cap. This will help you establish whether the clapboards will fit properly without any adjustments to the rows. You can also use a story pole to keep this length in check. The wood should be long enough to fit all the required measurements.
Hook the tape measure on the story and mark every four inches while squaring them using a speed square. Once marked and squared, place the board against the wall on top of the space at an angle and try to slide it until it reaches the bottom corner of the sill. Mark off each exposure on the house wrap and subsequently transfer to the corner boards.
Measure out for rainscreen and clapboards
Measure out the space for rainscreen and clapboards. A rainscreen helps to keep moisture from behind the siding by creating a space wide enough to allow the moisture to dry. Sealing up all the sides with the rainscreen will help prevent the clapboard siding from moisture-induced rot.
Be sure to install the rainscreen on the wall precisely. A staple gun can be used to attach the material to the wall more easily.
Pre-drill the clapboards and lay them out
Before pre-drilling the siding boards, make sure they are adequately dried. This will make them more durable and less susceptible to moisture-induced rot.
To make the drilling process easier, you can make a story pole on the worktable, measuring about one-foot spaces long enough for the longest available clapboard siding. Install the clapboards one by one from one end as you transfer the marks to the boards.
Once all the boards are marked, use a coat of solid stain to seal the cut ends. Pre-drilling is important as it helps to prevent splitting. It also helps to keep the nailing consistent.
Install the clapboard siding
Start installing the starter strip leaving a 1/8 space above the drip cap. This prevents water from wicking onto the first row of the clapboards. Moisture would, therefore, drain from above the board more easily. Follow this by installing the first row while nailing each board off. Make sure the nails are not excessively driven into the boards. At the same time, be sure to avoid missing the nails as this would cause distortions on the clapboard siding due to hammer strikes.