Installation of Board and Batten Siding
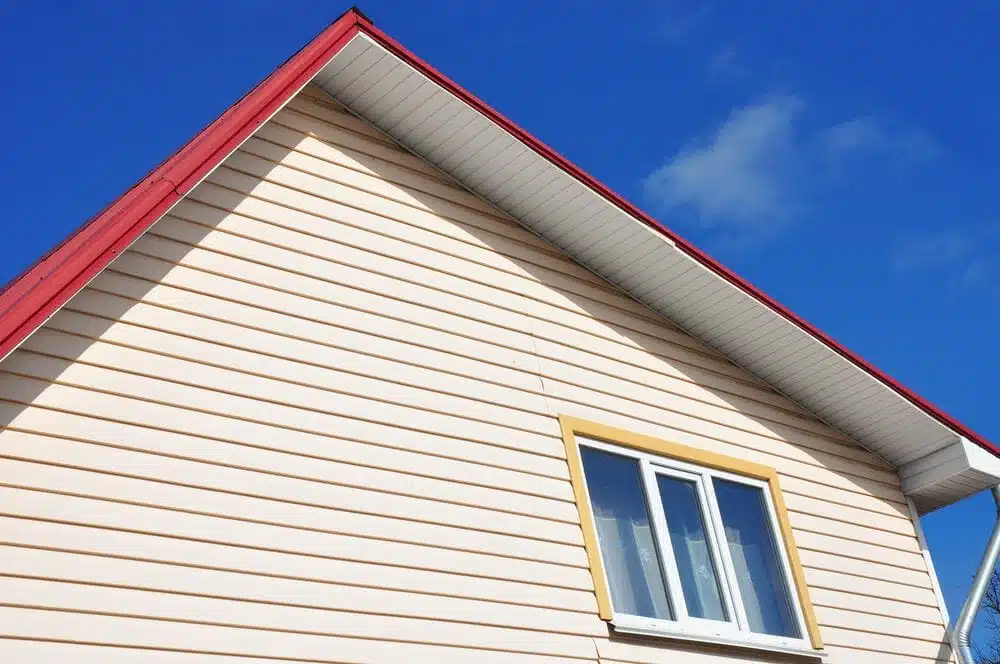
Are you looking for real beauty and charm in your home, cabin, or garage? Board and batten will give you more than just that, with a durable siding system that is very easy to repair. It comes with wide and narrow overlaying boards that are long-lasting and easily repairable in case of damage.
More interestingly, installing board and batten siding is a simple process that will not take you all the head-scratching as you thought. The steps are easy, and you do not need any sophisticated tools. If you like to hire someone for installing Ideal Siding in Toronto and Ideal Siding in Edmonton, just call us!
Before you start the installation, ensure you have the following:
- Cor Nails
- Hammer or nail gun
- Ner trim
- Skirt board
- Paint or stain (optional)
- Battens
- Boards
- Drip edge
- Level
You should also have paint or stain and top trim, but these are optional.
Once you have gathered all the materials and tools, start by preparing the area for siding installation where you intend to install the board and batten siding. To prepare the area:
- Start by painting or staining your boards and battens if they do not have color.
- Prepare your home for installation by looking for and removing any rotten boards. Also, ensure any loose boards or wood trim are kept safe.
- Check around your windows and doors for any old caulking and scrape it away to allow the proper positioning of your new siding against the walls.
- Also, scrape off any downspouts, molding or lighting to ensure there is nothing that stands in the way as you install the new board and batten siding.
Up to this point, you are now through with the preparations, and ready to start the installation process. However, you will need to install a skirting board that is wider than the siding boards you are installing and a dipped edge.
- Now position your skirt board at the bottom of where the siding will end. Place it horizontally and ensure it is well-levelled. Using a nail gun or a hammer, install vertical nails after every 18″ or 24″, and then use a piece of metal flashing to install your dip edge. You are now all set to start the actual installation of the siding boards.
- Start from one corner of your home. Place a board against the wall and ensure it fits flush-up. Ensure it is plumb.
- Install nails to secure the board two of the siding at the top and two at the bottom. Again, add a few nails along the board’s length, at intervals of 18″ to 24″.
- Depending on the width of the battens you will be using, measure the gap that you want to leave between the boards. Ensure that the battens are able to cover that gap and overlap by at least 0.75″ on either side of the siding.
- After that, follow the same procedure to install the next board. Install all the other boards in like manner until you have reached the next corner of your home.
- For the areas with windows, ensure you get accurate measurements for space above and below the window. Cut your boards accordingly and install siding boards above and below the windows one by one.
Once you are through with installing the boards, it is now time for installation of the battens. First, however, you will need to install the top trim if you chose to use it. You can then proceed as follows:
- Start by cutting your battens so that they will fit well.
- Start placing your battens to cover the gap that you left in between the boards siding. Always start from one corner of your home and move on towards the next.
- Check that each batten you place is well-centred and plumb before you install the nails on top of them. Put your nails along the length of the batten, after every 18″-24″.
- Continue with the installation until the next corner of the home. When you are done with installing all the sides, place two adjoining pieces of trim along every corner to give a beautiful finish to your board and batten siding.
At that, you are done with installing your board and batten siding. Enjoy the beauty of your home’s new look!