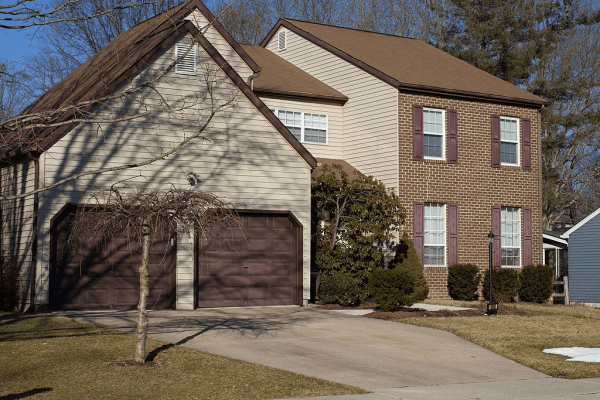
Many people think that installing Fiber Cement Siding (FCS) is a complicated task, yet that is never the case. Though somewhat different from the use of other siding materials, for instance, vinyl siding, you should follow the manufacturer’s instructions for installation of fiber cement siding faithfully. You should also confirm with your local building inspector if any code requirements applied for fiber cement installation in your area.

Take precaution
Taking precautionary safety measures during Fiber Cement Siding installation will ensure the process is smoothly done without any hitches. Give us a call today if you would like a quote for our services at Ideal Siding service.
- When cutting FCS, ensure you wear a respirator or N-95 dust mask that is NIOSH approved and cost-effective.
- Use ear protection, especially when dealing with a circular saw.
- Protect your eyes with safety glasses.
- Don’t cut siding indoors; use a saw with dust-collecting features to avoid respiratory diseases.
Storage and proper handling
When your order for fiber cement siding is delivered, keenly inspect it to ensure there’s no damage, and then store it in a flat position off the ground. To avoid cases of breakages, carry the siding pieces on edge and give them support lengthwise during the cutting process. Ensure it remains dry until installation is concluded.
Prep Work
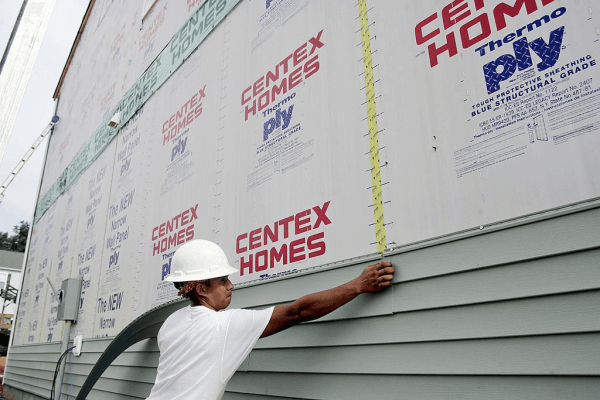
To protect the walls of your house, sheath them with foam, oriented strand board, or plywood, and use felt paper or house wrap to cover the sheathing. Mark the studs using chalk lines.
Cutting Siding
Circular Saw: This is a very popular method for cutting FCS, and it can be used to stack and cut several pieces at once. It’s drawback, however, is its production of too much dust in the process. The best way is to use a rafter square to guide you in making right-angle cuts and a polycrystalline diamond-toothed blade when cutting.
Fiber Cement Shears: If you want to make cuts that are either straight or curved, then these handheld electric shears are the best. When cutting with polycrystalline diamond-toothed blade Fiber Cement shears, the back of the siding should face up.
Jigsaw: This is ideal for cutting curves and holes, and should be used with a blade that is carbide-coated. The cutting should be done from the back of the siding board.
Scoring: Using a scoring knife that is carbide-tipped, score the FCS and snap to break The cuts may not be as smooth as in drywall.
Fastening of Fiber Cement Siding
In fastening of the FCS, you can use screws that do not corrode, nail manually, or use a pneumatic nailer. The choice of nails matters when fastening siding, and you should go for stainless steel or hot-dipped galvanized nails. Siding nails are best suited for face nailing at the bottom whereas roofing nails work well in blind nailing at the top. From the edge of the siding, the nails should be ¾” to 1”, and at least 1” into studs.
Trim Installation
Vinyl, wood, or thicker fiber cement products can be used when installing trim. The first step is to install both the inside and outside corners on the wall. To allow for caulking, ensure at least ¼” thickness more than two stacked pieces.
Siding Installation
To get the best angle for the siding, attach a 1¼” wide strip of FCS 1/8” over the first row’s bottom. Leave 1/8” gaps at the corner for caulking, while nailing siding into the studs. The advantage of blind nailing over face nailing is that the next row of siding hides the heads of the nails. Center the joints over studs and loosely but them with a 4” wide strip of 30 pounds felt behind each. Ensuring that the felt overhangs the siding helps to keep running water away in case the caulking fails.
Confirm that the rows are lined up at the corners using a square or level while holding and marking each end when notching the siding around windows and doors. Cut a piece of siding to the angle of preference and use it for marking, when you want to cut angles on gables.
Finishing
When the siding installation process is over, paint the FCS as soon as possible. However, if you’ve used FCS that is factory-primed, then it can last up to six months before it is painted. Clean the surface and ensure it is dry before applying paint to it. Latex caulking of high quality is recommended for the joints and ends, as well as the priming of bare siding and cuts. You can now finish with paint that is 100% acrylic latex.
In many regions of Canada, our company provides a Fiber Cement siding installation service: Edmonton, Vancouver, Calgary, Toronto, Victoria and other cities.