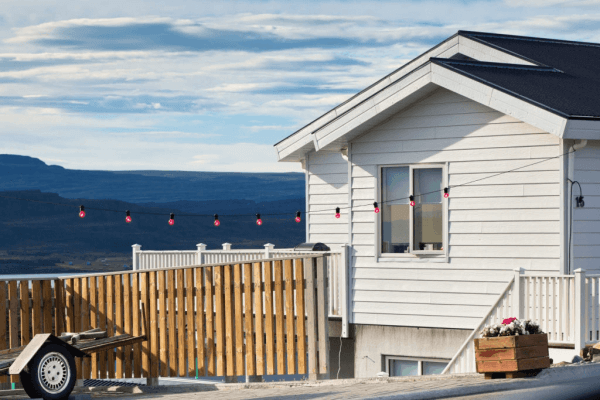
Do-it-yourself tasks can always be fun but also complicated. A good example is this; installing fiberglass siding. This activity can be easy or hard, depending on the level of seriousness you give it. First of all, the most important thing here is choosing the right tools to use and also taking your time to do the work perfectly.
Note: Some people would prefer using another glue because it is usable. However, it does not bring out the best results, and you might end up using it and tearing it off later again. Weld wood contact cement, on the other hand, gives excellent results with fiberglass siding.

1. Measure
Before starting the process, you need to measure everything and especially the perimeter of the house. This will help you know the amount and number of materials and products you will need. Do the measurements twice or thrice to ensure that they are accurate, which might lead to unforeseen inconveniences.
2. Drill holes for wires
After having all your measurements, you can now start drilling the holes to insert the wires. Also, as an additional convenience precaution, have a level of 2*4 screwed to the bottom of the rig.
3. Measure and cut out the fiberglass siding pieces
Using the measurements you had taken before, take the same measurements on the fiberglass you intend to use. Now, slowly and carefully cut along the markings with precise accuracy.
4. Install the fiberglass siding
This step will require that you have someone nearby to help you. Now, start setting the fiberglass from the bottom and set it on a 2 by 4 ledger. After setting it accurately, start raising it until it is vertical, then have your help stand beside it and lean on it, or hold it in place. For more information about Ideal Siding, give us a call today.
5. Stick the wires through the holes
This is where the holes you had made before coming into play. Get up your ladder and start sticking the wires into these holes, then alert your helpers to press in firmly. When the pressure is applied, connect the cement sticks panel firmly but not tightly.
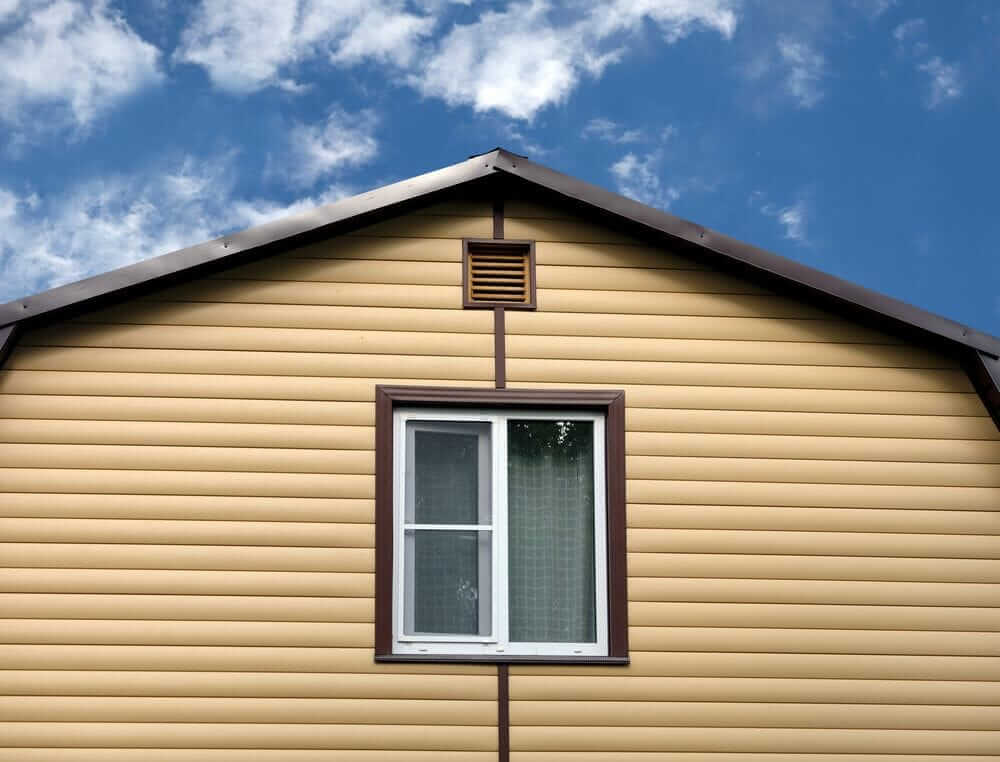
6. Cut out the windows and doors openings
You can choose to carry out this process in the earlier steps or now, after passing through the above steps. Whichever time you choose, you can always use a router and a trim to have precise cutouts. Also, do not use rotozip because it will only waste your time. Using your router and trim, start cutting the openings from the center and slowly yet keenly work your way out.
The plastic corners must be firmly secured. A great idea is tacking them in with the help of a finished brad nailer. Also, choose carefully the trim you use because some can be very difficult. Try out delta trim; it gives excellent output and is easy to use.
7. Pick out the coating
After doing this, you will have a protective coating scattered everywhere. Pick these coatings off.
Remember:
Depending on your approach, this process can either be easy or hard. It can be the latter if you choose the wrong materials and tools, do the task all on yourself without someone to help, or you fail to follow the instructions to the latter.
However, you will find it quite easy if you go step by step, use the right tools, products, and materials.
You also need to take your time and do all the processes and sub-tasks with utmost precision because if you rush through the process, you might end up starting it all over again. The accuracy should mainly be directed to the cutting and measuring jobs to avoid discrepancies in the final results.
Conclusively, fibreglass siding installation is an easy and simple process whose results depend on your level of focus. You should also know that installing fiberglass panel is not the end of everything. To avoid repeating the whole process in the future because of damage, you need to maintain it regularly. If you can’t figure out how to do so, search for a tutorial or how-to blog online.