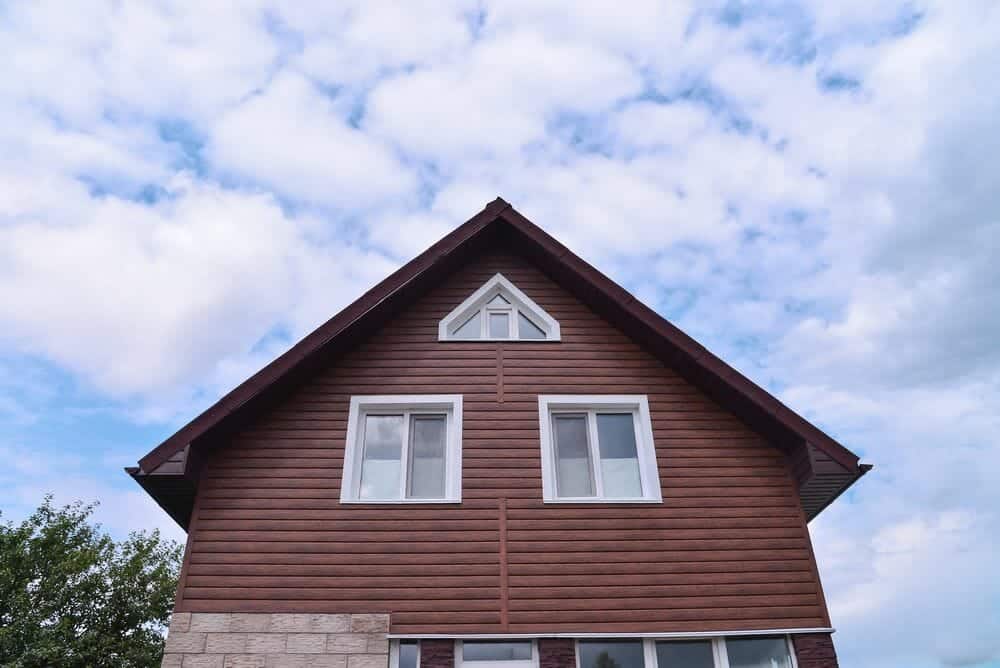
Some homeowners prefer wood to vinyl siding. Wood siding is equally a type of exterior finish that improves the attractiveness of your home. The installation is also easy. Apart from wood and vinyl, there are also other siding options that you can choose from. These include aluminum, clapboard, and other synthetic materials. However, most people who opt out to go for vinyl siding often end up installing wood or cedar siding.
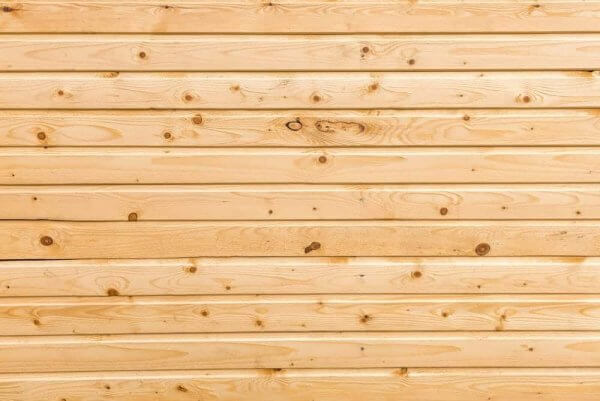
There are several kinds of wood that construction experts recommend if you are installing wood siding for your home. These include unfinished red cedar and cypress.

For a successful installation, the wood siding has to be in the form of horizontal overlapping boards. They should range from 4 to 12 inches in width, and the overlap should measure between ½ and 2 inches. There are many horizontal joints that assist in fastening the wall frame. For more information, call our Ideal Siding contractors; we work for you.
How, then, do you install wood siding like cedar or cypress? The installing process intakes the following steps:
Step 1 – Preparation for the installation of the siding
Before you start installing wood siding, you must apply a layer of plywood sheathing cover on it. You will also have to install felt building paper on the exterior surface of the house’s cedar frame. The felt paper would act as a water and air barrier. It will also allow water to pass through and thus help in ensuring that water does not accumulate on the wall.
Step 2 – Cutting Wood Siding
The use of a circular saw best achieves this. It will help you cut the boards to the desired length. The circular saw will help you make sure that every joint will fall on a stud. To ensure that you cut every wood (cedar) board into the desired squares, you should take the measurements using a measuring square. If you fail to use a measuring square, then uneven gaps will be conspicuous on the joints in the finished wall. You want the best results in this process. Ensure that you do the cutting slowly to prevent splintered or jagged edges. If you can, ensure that you install the siding such that the joints can align vertically in the alternating courses.
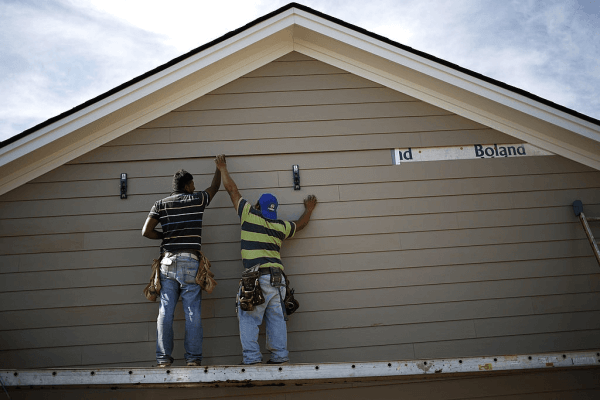
Step 3 – Installing Wood Siding
In this third step, you must note that the siding has to be installed from the bottom up. It is also essential that you scaffold it to complete the structure. For the lowest siding board, you will have to install it at the bottom of the plywood sheathing. Ensure that it protrudes at least an inch below the top of the foundation wall. You can then nail the siding into every wood stud through the bottom of the upper board. You can also nail through the beveled edge of the lower board.
Step 4 – Border and Edge Treatment
For the topmost board, you will have to rip it off along the length to give it the ability to but against the soffit. The ripped edge has to be covered using a frieze board. The frieze board is nailed through your wood siding and sheathing. Slash all the siding at the angle of the roof pitch. You should do this at the point at which the wall meets the rake and the fascia. You must do this accurately by taking all the dimensional measurements before making the angle cuts. Take the measurements of the bottom edge of the board to a long point. You should also measure the along the top edge to the short point. You will have to install the vertical corner boards before you install the wood siding. Ensure that the siding butts snugly against its edge. Take the same approach when fitting the siding against the door and the window.
It is also important that you take safety precautions when doing wood siding installation. For your eyes, get the safety goggles for installing any new materials. You should also wear safety boots to protect your feet. Get yourself a helmet to protect yourself from falling objects. It is also advisable that you wear rubber gloves when undertaking this exercise.