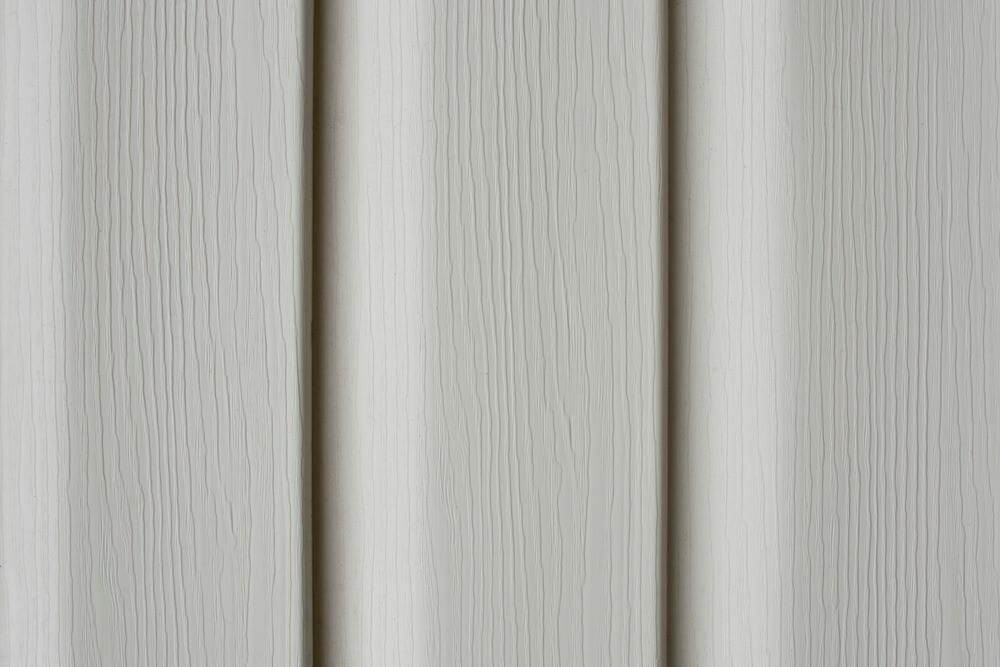
Removing Small Pieces of Vinyl Siding
One of the best ways to protect your home exterior is by using vinyl siding. However, despite the strength and protection that it provides, some forces are usually too strong for it to withstand-like baseballs and hailstones. In case your home’s vinyl siding is hit and damaged by such things, do not worry, as they can be easily removed using the zip tool-a a special device for removing the vinyl siding.

Zip tool is a hand-held tool that works by releasing flange to ensure that horizontal pieces of vinyl siding are locked on the wall. After removing the damaged pieces of vinyl siding, replacing them with a new piece becomes a straightforward task. If you have some problems that are in need of care be sure to check out our cedar siding in Oakville and Toronto.
Before you start, you will need the following:
- A vinyl siding zip tool
- Claw hammer or pry bar
- Tape measure
- Tin snips
- Galvanized roofing nails
Steps to Remove Vinyl Siding
Once you have all these, follow these simple steps:
- The first step is to locate the position where you will fix the new piece of vinyl siding. To do this, find the siding piece below which you intend to fix the replacement vinyl siding piece.
- Under the vinyl siding piece that you have located above the replacement position, you will find a short, flat notch. Hold your zip tool in place and insert its tip into this notch, then twist the zip tool slightly as you pull it down to bring out the lower tip of the piece that lies just above the one you are replacing. Now run your zip tool along the length of this piece to release the bottom.
- Using your claw hammer, remove the nails that were holding the vinyl siding that you want to replace.
- Remove the piece of siding that you want to replace by pulling down on it. Hold it in place and start pulling away from the flange. It is possible that the siding might not come loose on its own. If that is the case, pull it down using the zip tool.
- You may also want just a section of the damaged siding. If so, you will need to place vertical marks to denote the point where the section you are replacing ends. Make the marks on both sides. After that, use tin snips to cut out the unwanted part along the vertical lines.
- You will need to know the length of the piece that you want to replace. Therefore, measure this piece accurately so that the replacement piece fits exactly like the old one. It should also have equal overlap at the siding joints and where the siding and the trim meet. Once you are sure of the measurements, use your tin snips to cut the replacement piece to size.
- Lift your new piece and slide its bottom edge above the piece below the position you are putting it in, along its top flange. Without stretching the siding, pull it against the house.
- Use your galvanized roofing nails to attach the siding through the slots that had been predrilled. The galvanized roofing nails should be of the same size as those that were used on the piece you have just used. Between the heads of the nails and the sheathing of the house, you should leave some space to allow the expansion and contraction of the vinyl due to seasonal changes. Space should be such as can allow a dime to pass through.
- Remember the first piece you loosened? Hook your zip tool under its bottom and pull the edge over the flange on your replacement siding. While pushing the length of the siding back into position, slide the zip tool along the flanges.
If you have some problems that are in need of care be sure to check out our cedar siding.
Important Tips
- If you are not able to get a replacement siding that will match your siding, you can remove a piece from the side of the house that is less exposed and use it as a replacement in the more conspicuous side, then use the dissimilar new piece to replace the one you have removed from the less-conspicuous side.
- The replacement is better done on a warm day because vinyl can be brittle in cold weather.
- Ensure you wear gloves to protect your hands as you do the repair.