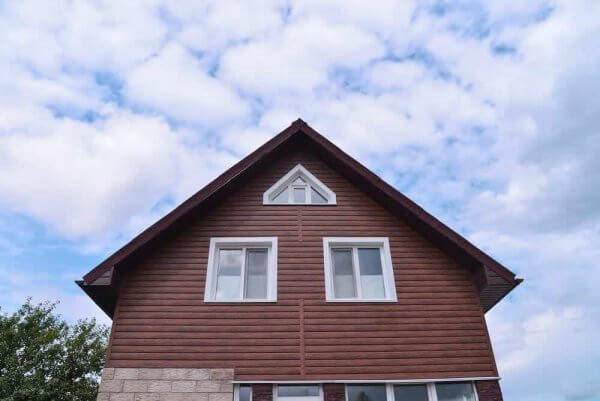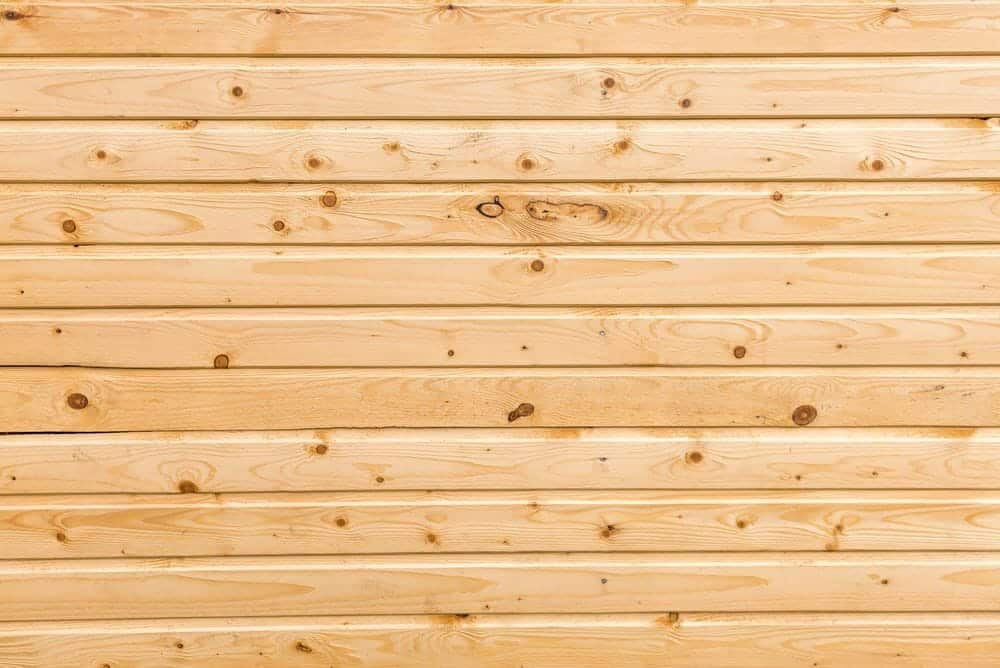
If there is any siding material that we will choose over and over, it will be the wood siding because the material does not only provide a high aesthetic value to your exteriors but also has low thermal conductivity.
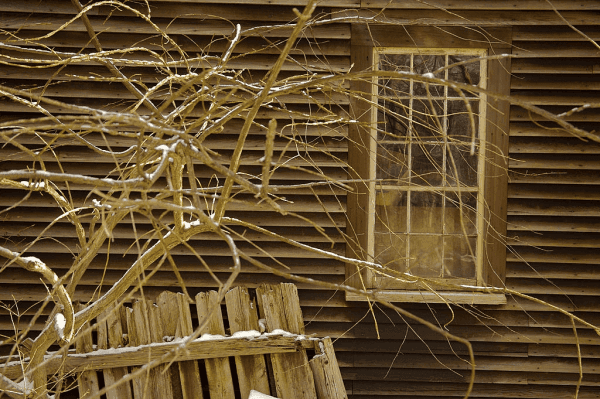
However, this does not imply that wood is indestructible because it is not. Wood siding is also prone to decomposition, just like any other building product. The exterior paint can always protect the wood siding but not forever because even a simple hairline crack will allow in water which will ultimately cause rotting or mould. Significant physical impact on the wood can also crack it and you will need to do a replacement or repair the wall.

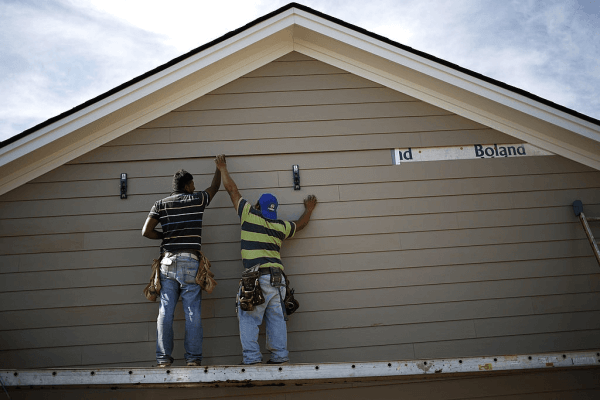
When compared to vinyl siding, wood siding can be difficult to repair, and most homeowners fear to engage in the task. Also, sometimes when you start servicing one area, you might end up damaging other areas, hence taking more time doing it. Ask us any questions about Ideal Siding you may have or get a free quote.
But, this is not an implication that wood siding is impossible or extremely hard because when you use the right materials, products, and approach, you will not end up causing more damage. Before we discuss the steps, let us look at the materials and tools required for the repair process.
- Hammer
- Utility knife
- Replacement blades
- Electric miter saw
- Pry bar
- Carpenter’s pencil
- Speed square
- Primer
- Paint
- Tape measure
- Dust mask
- Safety lasses
- Caulk
- Multi-tool with a wood blade
- Stainless steel siding nails of 1 3/4 –inch long
- Replacement wood or siding board
Removing and replacing the damaged part
1. Mark the damaged area
Put the speed square at the bottom of the repair area, about one foot away. Make a vertical line using the carpenter’s pencil and repeat the same repair process for both sides of the damaged wood siding area.
Instead of this step, some people prefer removing the entire length of the damaged siding board. This is, however, not necessary since the above method also works great.
2. Cut-away the caulk and paint from the siding
Use the utility knife to cut away the paint and caulk that held the damaged part to its neighboring parts. You will need to go along the whole lengths of the damaged wood siding so you can be able to break the connection entirely. This process can be demanding, and you will need to have multiple cuts. You will also need to change the blades frequently for faster and better results.
3. Vertical cuts
This process is slightly complicated, and you will need to have your safety glasses and mask on. The multi-tool mentioned above will be used here, and if you do not have it, then you should consider having one because you will not only use it on this task but also on many other home repairs; an electric one works best.
Now, after wearing your mask and sunglasses, set the wood blade onto the electric multi-tool, turn it on then start following through the vertical lines you had made, as you cut through. Take care not to go beyond the board since that will lead to further damage.
4. Removing the nails
Slide in the pry bar on the edge between the damaged board and the neighbour. Rock it up and down. After doing this, the nails will be protruding enough to be pulled out using a claw. You can remove the damaged cutout.
5. Prepare new siding
Use your electric miter saw to cut the new section of the siding. To get the right size, place the damaged cutout on the new one, and mark it. As you cut the new board, you will need to follow through with the marks.
6. Driving in the nails
Keenly, slide in the board from underneath the top board and ensure it fits flat against the side. There will be holes used initially still on the sides, and you need to nail in nails through them. Take care not to nail in it too tightly. After using the existing holes, you can now drive in nails in other areas and lastly along the edges of the replacement portal, making sure not to miss the adjacent board at the bottom.
7. Caulk, paint, and finish
Apply caulk on all the vertical and horizontal seams then press it in. You can then apply primer and paint two layers of paint on it and your repair is complited.