Replacing an Exterior Window with Vinyl Siding
Most people think that removing an exterior window of a house with vinyl siding is a difficult task. On the contrary, the task is quick and easy.
What you will need:
- Safety goggles
- Work gloves
- Utility knife
- Pry bar
- Hammer
- Nails (optional: nail gun)
- Drill or screwdriver
- Siding Removal Tool
- 1 or 2 pieces of “2 by 4s” (depending on the size of the window)
- Tape Measure
- A sheet of wood larger than the window (At least a half-inch thick)
- Caulk and caulk gun
- Moisture barrier
- Staple gun and staples Vinyl Cutter
- Vinyl Siding (matching the colour of the house)
If you like to hire someone for siding contractors, just get a quote!
Once you have these, first, start by preparing the window area for vinyl siding as follows:
- Remove the drywall that surrounds the window on the inside of the house. To achieve this, score the area around the drywall with a utility knife. This will make it easier to remove the drywall. After that, carefully pull off the drywall using a pry bar, ensuring that you don’t damage what you are not removing.
- Next, remove the window and the screen while taking care not to damage the frame or the other areas around the window. First, remove the nails or screws that hold the window using a hammer. Next, pound the pieces of wood that may be between and the wooden studs, using a hammer and remove them.
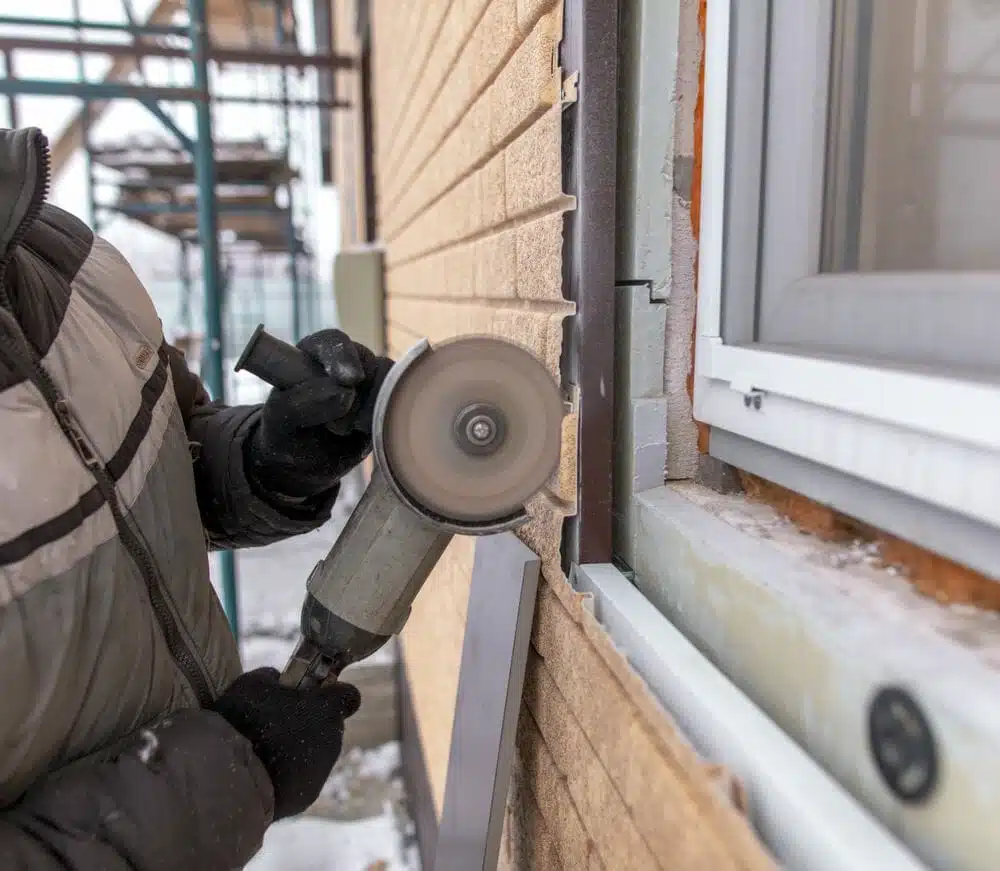
- Now cut the window’s perimeter to loosen it and make it easier to pull out.
- Remove the nails or screws that hold the window frame, then remove the exterior window frame. You can wedge out the frame using a pry bar. After this, remove the outer vinyl casing.
- Identify the pieces of vinyl siding to be removed and take note of where they overlap one another.
- Clear the window area by removing the pieces of vinyl siding. You can do this using a siding removal tool.
- Use a tape measure to measure the vertical length of the open space, then cut the “2 by 4s” into pieces equal to this length. Place these pieces in the middle and sides of the open space where the window was and pound with a hammer if necessary. Nail the side pieces parallel to the length and the middle pieces diagonally using a nailing gun.
- Get a piece of wood that is about ½” thick and cut it according to the measurements of the perimeter of the open space.
- Now insert the exterior wall on the outer side of the pieces of wood and nail it securely on the pieces of wood. Do not leave any space between the sheet of wood and the pieces of wood.
- Cut the tip of a caulk tube and make an opening in it by inserting and removing an object.
- Use the caulk tube in a caulk gun to squeeze the caulk in the required positions, along the perimeter of the new exterior wall. This will help to seal the space between the perimeter of the new exterior wall and that of the old open space. This will ensure that there is no leakage in this area. You can then use your finger to smooth the caulk.
- Attach a moisture barrier like a thin plastic sheet to prevent moisture from passing through the area around the new exterior wall.
- Once you are done preparing the window area, the following steps will help you to install the new vinyl siding.
- Measure the length of the spaces in the area you are working on that need vinyl siding replacement. Cut the new vinyl pieces according to these measurements.
- Use a zipping tool to zip or connect the new pieces of vinyl with the old ones that remained adjacent.
- Locate the holes on top of the new pieces of vinyl and nail them through these holes using a hammer. You can skip some holes at intervals of, say every five holes. Roofing nails are the best here. Inspect the inserted pieces of vinyl to confirm that they have been fitted accurately. This will help to avoid loos pieces, which can easily be destroyed.
Caution!
You must wear work gloves and safety goggles to ensure maximum safety when doing this job.