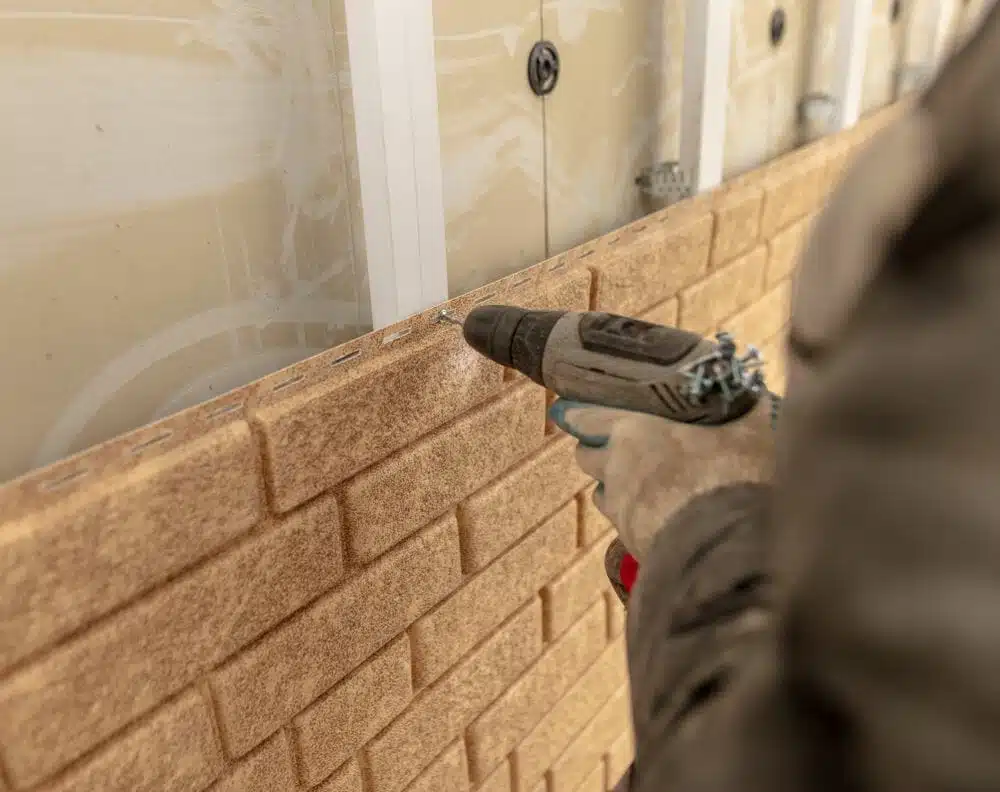
Siding Replacement
Siding, just like other exteriors, always wears and tear out. This could be because of many different reasons, like damage from physical impact, water damage, among others. But, whatever the cause of the damage, you will still need to do a repair or siding replacement and that will need that you follow a step-by-step guide.
Fortunately, regardless of the material used on your siding, the repair does not usually require much work, but it is done in two steps. The first step is the removal of the damaged part, and the second one is the repair or siding replacement using a new patch. Here is how the process flows.

Removing the damaged part
As mentioned above, the first step of the siding replacement process is the removal of the damaged part. It begins with removing the nails, after which you use the utility knife to score down the lap of the damaged part. Pull out the nails on the lapboard and split the damaged board using a hammer. For more information about Ideal Siding in Toronto give us a call today.
This will remove the nails, after which the adjoining boards will separate.
Replacing the part
Now, measure and cut a board of the same size as that which you removed. Then fit it in place, and nail in galvanized nails using a hammer. The adjacent siding will obviously be having existing holes, so you need to nail in the nails through these holes.
Fill in all the holes with nails and make sure you nail straight down.
1. Attach Freize and sheathing
Put up the fascia board before the fiber-cement shake panels and check the condition of the existing sheathing. If it is in a good state, then you can move on to the next step. However, you will need to replace it if it is damaged.
Mark a reference point using chalk lines. The lines will be used for the frieze board, otherwise known as the transition board.
It is vital to install flashing, which will prevent water from penetrating through and causing further damage. Before nailing the flash, slip it right underneath the wall sheathing then use galvanized nails and hammer to nail it.
In the steps above, make sure you use nothing in place of fiber cement because it’s high composition makes it highly durable.
2. Cut the cement board
Start by cutting a 2” piece fiber cement board which you should insert above the drip cap. Secondly, cut a slightly larger piece and place it on top of the one you have just set. Finish it all up using the shingle panels.
Slightly above the drip cap, drive in the nails on the starter strip using a nailing sider. And do not sweat if it does not fit in the corners, because such precisions are good but not necessary here.
Slide the angle finder in place and search for the right angle. After doing so, cut the wider plank at that angle and do the same for all other planks as well as the shingle panels.
3. Attaching the planks
Before you move to the shingle panels, you will first have to nail the first plank. After that, get to the panels. For better results and little wastage of time, you should keep the shingle panels lined up with the center stud. While you can use the long method, if you line up the shingles you will not always have to start from the end, and this is quite convenient. Besides, you can just line up one end, and the others will fall in place.
4. Painting and finishing up
If the replacement plank is of a different colour or shade, you can always paint it using primer and exterior paint. You can then pack up your equipment and consider the repair complete!
This is a very simple do-it-yourself task that should not take more than two hours to complete. The best part about doing this yourself is that you get to save money. Besides, even without professional expertise, when you do siding replacement yourself, you will put more precision than the person you probably would have hired.
Therefore, sort out the materials and tools you require. If any product is needed, go for the best quality, then take your time and give the work the best you can.