In both the construction and real estate sectors, vinyl siding is the most preferred by both contractors and homeowners. It comes in different shapes and colors, making it customizable to the satisfaction of the homeowner. Apart from being attractive, vinyl siding is also durable, and its maintenance costs are also very pocket-friendly.
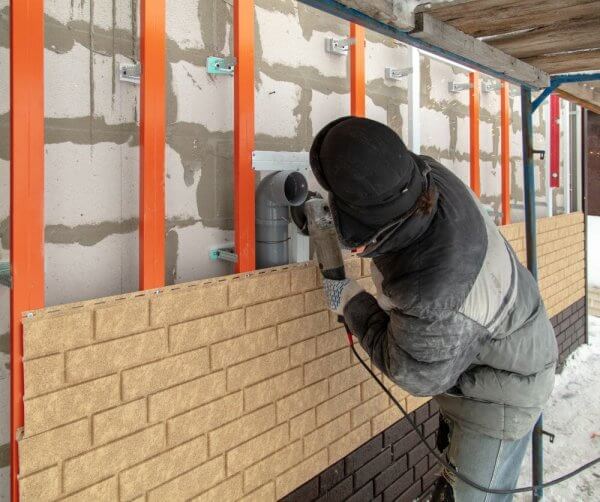
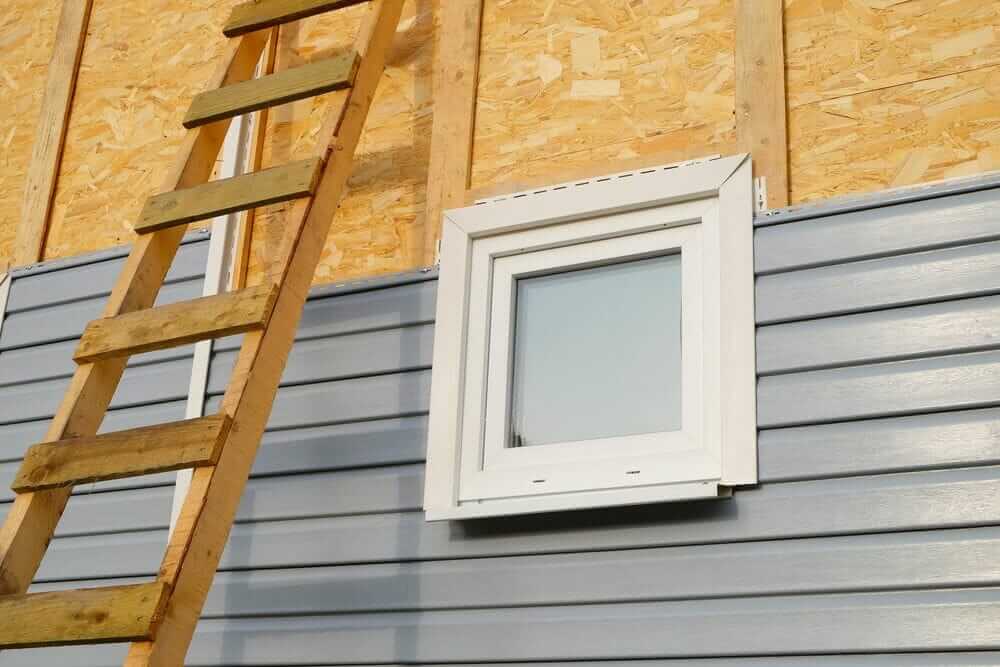
Vinyl siding is also easy to install, meaning that you can opt for DIY. However, this might not be easy when you are installing the vinyl around the windows. When working around the windows, there is always the desire to waterproof them. Sticking to the recommended procedures for installing siding, you will be able to seal out water to get professional standards results in the place that the window trim meets the siding. If you have some problems give Ideal Siding services a call.

Cutting and Installing the Molding
The first step involves inspecting the flashing and the building wrap around the window.
On the vertical sides of the window, the flashing should be able to overlap the bottom flashing by at least two inches. Just above the window, you should ensure that the building paper overlaps the flashing by two inches.
The second step involves the use of tin snips which will help you cut the length of the J molding that goes around the window. Ensure that the molding is two inches longer than the width of the window. Use a utility knife to cut 1-inch notch off the J molding on both ends across the top side. You should then cut in from the tin snips ends along the corner. Snap off the resulting piece.
In the third step, you will be installing the J molding. You should do this on the bottom edge of the window. Proceed to drive in roofing nails using a hammer. Ensure that you push them eight inches in the middle of the nailing slot. Loosely do the nailing such that the J molding can slide back and forth to provide room for expansion and contraction.
In the fourth step, you will have to cut two lengths of the J molding. Ensure that the lengths are two inches longer than the height of the window. Trim out an inch from either side. You can then nail the J molding loosely along the sides of the window. Ensure that the notched section is overlapping the piece that you initially placed at the bottom of the window.
In the fifth step, you will be creating the top piece. You can achieve this by cutting the length of the J molding two inches longer in comparison to the width of the window. Use the tin snips to cut an inch of either side. Ensure that you don’t snap the piece too much to leave a tab. In this step also, you will nail the J molding loosely on top of the window. Proceed to fold the flaps created. These folds should overlap the vertical pieces.
Cutting and Installing the Siding
Step 1: Place the piece of siding you intend to install underneath the window along the bottom edge. Hold it horizontally along the wall and window. At the ¼ inch on both sides, mark the siding. This provides room for expansion.
Step 2: Measure the distance from the inside top of the J channel up to the locking tab of the course below and subtract the ¼ inch. Put a marking on the siding to indicate where you intend to cut. Proceed to notch out the siding on the created marks. For vertical cuts, you should use tin snips while the straight edge of the siding should be cut using a utility knife.
Step 3: Lock locking the siding into place. When installing siding, you should ensure that it can fit in the J channel. In case you made a wider and horizontal cut on the siding’s profile, then the siding will fit firmly in the J channel. If it fails to fit aptly, remove the notched piece. Into the J channel, install the undersill trim. Fit the top edge of your notched siding into this undersill trim. The notched siding should be nailed into its place loosely.
Step 4: Proceed with the installation of the courses of the siding along the window sides. You should ensure that you leave ¼ inch spaces in the J channel at the end of every piece. This gives room for expansion. Place a mark then proceed to cut and notch the top piece. It will fit into the J channel. Here also, you should leave ¼ inch space for expansion. Snap it into place then proceed to loosely nail it.
Mark, cut and notch the top piece so that it fits into the J channel, again leaving 1/4-inch space for expansion. Snap it into place and nail it loosely.
These steps will help you install your vinyl siding along with the window expertly.
If you are living in Victoria, call us for getting high-quality service of siding in Victoria.