The Process of Repairing Clapboard Siding
Clapboard is a form of the wooden siding of a building in the form of horizontal boards often overlapping each other. In some areas, clapboards were traditionally left as raw wood, relying upon air circulation and the use of semi-hardwoods so that the boards are kept from rotting. However, the boards eventually go grey as the tannins are washed out from the wood. The step-by-step guide provides more details on how to repair the clapboard siding in Calgary.

Step 1: Pull loose nails from clapboard siding
Loose nails may appear on the siding due to termite infestation or after the clapboard siding is eaten away by rodents. Sometimes just a result of moisture-induced rot of the wood. The loose nails may be hand-pulled easily and removed.
Rancid siding can also be removed at this stage. Be sure to remove all rotted clapboards and make sure that only the layers are removed.
Step 2: Tap a flat bar from under the siding to loosen nails
If there are nails that are still tightly fixed on the strong clapboard siding boards, tapping with a bar may help to loosen them. You could also use a hammer to tap them gently until they become loose and easy to remove. Once they are loose, you can use a claw hammer to pull them out of the siding.
Step 3: Snoop the remaining pieces of old clapboard out from behind the curse above
Make sure all the affected siding boards are removed so that proper replacement is done.
Step 4: Remove vertical caulk joints
Any vertical caulk joints existing between the end boards and siding should be removed using an edge such as a knife or a sharp chisel.
Step 5: Clapboard with a section damage
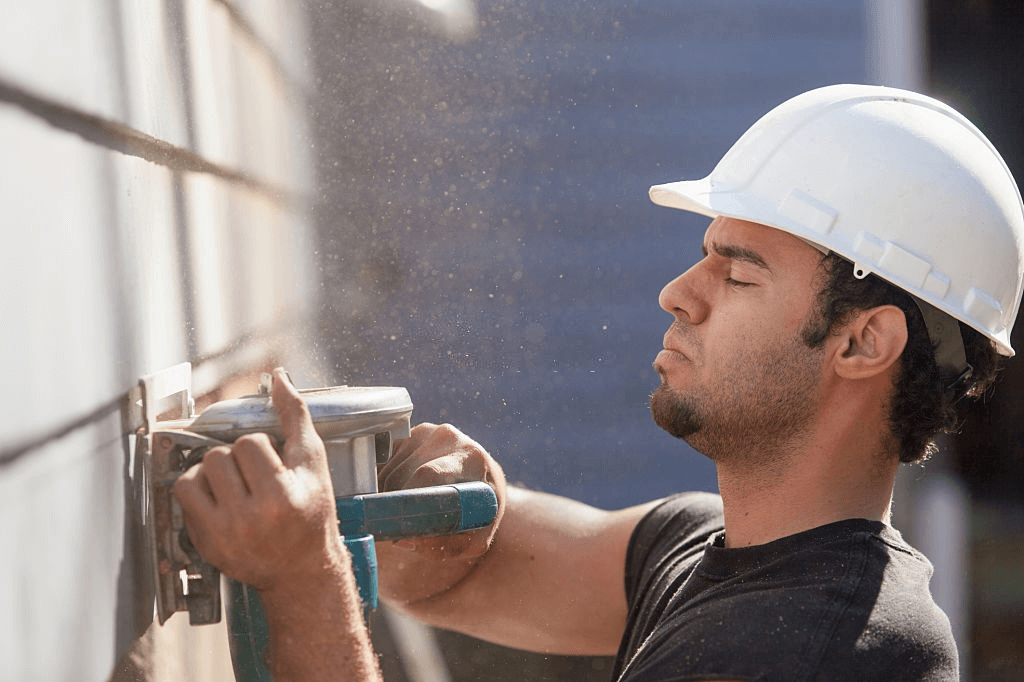
Where only a section of the clapboard siding is damaged, mark a new joint using a speed square and cut off the spoiled portion using a circular saw. In case of damages caused by termites or moisture rot, cut the section out completely and replace it with a new section of wood.
You will need to be gentle and take your time not to damage the siding boards above and below.
Step 6: Remove areas damaged by termite
Use a reciprocating saw to cut the outline of the damaged wood for easy removal. Follow the outline using a circular saw and make vertical cuts with the reciprocating saw. When the outline is clear-cut, use a wood chisel and mallet to remove the damaged wood.
Step 7: Use a sill to patch the siding damage
Measure the length and width of the sill removed. Cut out two pieces of lumber, treat them, and nail them together in order to achieve the desired thickness. Using a sled hammer, fix the replacement sill into the hole.
A tighter fix can be achieved by nailing the sill into the neighbouring sill. Holes can also be drilled around the perimeter of the repair and filled with epoxy to make it even stronger.
Step 8: Add new siding
Before this is done, it is recommended that you back-prime the clapboard with oil-based primer so as to protect it against future insect damage to avoid repairs later.
Use appropriate starter strips of treated lumber on the sill exactly at the point where the lowermost layer of sliding will go up. When this has been done, cut clapboard siding using a mitre saw. Nail it to the starter strips and measure the depth to ensure consistency with the existing courses above.
In case you have a clapboard that is too short to span a wall, spice two together using a 45-degree scarf joint, then apply a sealant to the ends, fit them together and drive one nail through the overlapping board ½ inch to the side of the joint.
Step 9: Paint and prime the siding
Once the very first siding is installed, add the rest by slipping them under the courses above and securing each one of them with nails. Be sure to caulk the end joint as well as prime the front of each clapboard and allow the primer to dry.
Once the primer is dry, apply the final coat of paint to march the house. You can use the leftover paint from your initial job or take a scrap of the staff you pried off to your nearest paint store to get the best match for your repair.